
[ad_1]
Step-by-Step Guide to Building Your First Website with React: A Comprehensive Walkthrough for Beginners and Experts
In today’s digital age, having a web presence is crucial for businesses and individuals alike. For freelancers, marketing agencies, and even seasoned developers, building a website with cutting-edge tools is imperative. React, a JavaScript library developed by Facebook, stands out as a popular choice for creating dynamic and responsive web applications. This guide will walk you through the process of building your first website with React, offering insights, tips, and best practices to ensure your success.
Understanding React and Its Importance
Firstly, before we delve into the step-by-step guide, it’s important to understand why React is favored in the industry. React allows developers to build user interfaces with ease, focusing on the View in the Model-View-Controller (MVC) architecture. React’s component-based structure, virtual DOM, and robust community support make it an excellent choice for web development.
Moreover, if you are a freelancer, a marketing agency, or an expert looking to expand your skill set, mastering React can significantly enhance your portfolio and open up new opportunities.
Pre-Requisites for Building a React Website
Before starting, ensure you have the following:
- Node.js and npm: React requires Node.js and npm for managing packages. Download and install them from the official Node.js website.
- Code Editor: A powerful code editor like Visual Studio Code is recommended for writing and organizing your code.
- Basic Knowledge of JavaScript: Having a foundational understanding of JavaScript is essential for working with React.
Setting Up Your Development Environment
Firstly, let’s get our development environment set up.
-
Install Node.js and npm:
- Visit the Node.js website and download the installer for your operating system.
- Follow the prompts to install Node.js, which will also install npm (Node Package Manager).
- Create a New React App:
- Open your terminal or command prompt.
- Use the Create React App tool available via npm to start a new project:
npx create-react-app my-first-react-website

cd my-first-react-website
Understanding the Project Structure
When you create a new React app, the following structure is generated:
my-first-react-website/

  node_modules/

  public/

  src/

    App.css

    App.js

    App.test.js

    index.css

    index.js

    logo.svg

  .gitignore

  package.json

README.md- public/: Contains the public files used in your app, including the main
index.html. - src/: Contains your React components and assets.
- node_modules/: Contains dependencies and packages used in your project.
- package.json: Manages your project’s dependencies and scripts.
Starting the Development Server
Next, you’ll start the development server to see your React app in action.
- Navigate to your project directory in the terminal.
- Run the following command:
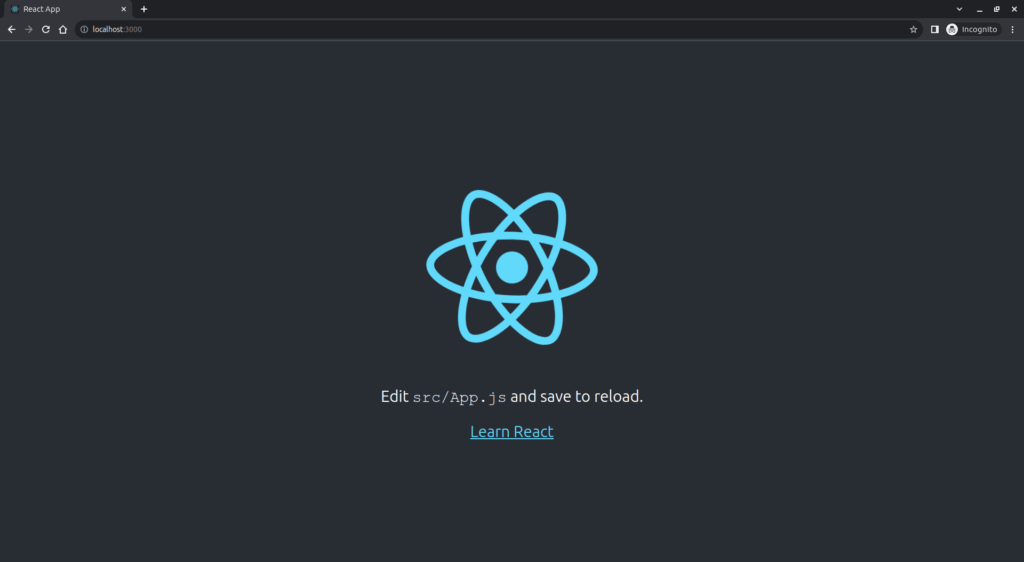
npm start - Open your browser and go to
http://localhost:3000. You should see your React app running.
Creating Your First React Component
React components are the building blocks of any React application. Let’s create a simple HelloWorld component.
- In the
src/directory, create a new file calledHelloWorld.js. -
Add the following code to define your component:
import React from 'react';


const HelloWorld = () => {

 return (

   <div>

     <h1>Hello, World!</h1>

   </div>

 );

};


export default HelloWorld; -
Import and use your
HelloWorldcomponent inApp.js:import React from 'react';
import HelloWorld from './HelloWorld';
function App() {
return (
<div className="App">
<HelloWorld />
</div>
);
}
export default App;
Styling Your React App
Next, let’s add some style to our app.
- Create a new file called
HelloWorld.cssin thesrc/directory. -
Add some styles to the
HelloWorld.css:h1 {
color: blue;
text-align: center;
} -
Import your CSS file into your
HelloWorld.jscomponent:import React from 'react';
import './HelloWorld.css';
const HelloWorld = () => {
return (
<div>
<h1>Hello, World!</h1>
</div>
);
};
export default HelloWorld;
Handling State and Props in React
React’s state and props system allows components to manage and pass data effectively.
-
Modify the
HelloWorldcomponent to accept amessageprop:import React from 'react';
import './HelloWorld.css';
const HelloWorld = ({ message }) => {
return (
<div>
<h1>{message}</h1>
</div>
);
};
export default HelloWorld; -
Pass the
messageprop fromApp.js:import React, { useState } from 'react';
import HelloWorld from './HelloWorld';
function App() {
const [message, setMessage] = useState('Hello, World!');
return (
<div className="App">
<HelloWorld message={message} />
</div>
);
}
export default App;
Adding More Components: Building a Navigation Bar
Let’s add more components to our app, starting with a navigation bar.
- Create a new file called
Navbar.jsin thesrc/directory. -
Add the following code to define your
Navbarcomponent:import React from 'react';
import './Navbar.css';
const Navbar = () => {
return (
<nav>
<ul>
<li><a href="#home">Home</a></li>
<li><a href="#about">About</a></li>
<li><a href="#contact">Contact</a></li>
</ul>
</nav>
);
};
export default Navbar; -
Style your
Navbarcomponent by creating aNavbar.cssfile:nav {
background-color: #333;
}
ul {
list-style-type: none;
margin: 0;
padding: 0;
overflow: hidden;
}
li {
float: left;
}
li a {
display: block;
color: white;
text-align: center;
padding: 14px 16px;
text-decoration: none;
}
li a:hover {
background-color: #111;
} -
Import and use the
Navbarcomponent inApp.js:import React, { useState } from 'react';
import HelloWorld from './HelloWorld';
import Navbar from './Navbar';
function App() {
const [message, setMessage] = useState('Hello, World!');
return (
<div className="App">
<Navbar />
<HelloWorld message={message} />
</div>
);
}
export default App;
Fetching Data with React
Often, you need to fetch data from an API. Let’s add functionality to fetch and display data from a public API.
- Create a new file called
DataFetcher.jsin thesrc/directory. -
Add the following code:
import React, { useState, useEffect } from 'react';

import './DataFetcher.css';


const DataFetcher = () => {

 const [data, setData] = useState(null);

 const [loading, setLoading] = useState(true);


 useEffect(() => {

   fetch('https://jsonplaceholder.typicode.com/posts')

     .then(response => response.json())

     .then(data => {

       setData(data);

       setLoading(false);

     });

 }, []);


 if (loading) {

   return <p>Loading...</p>;

 }


 return (

   <div>

     <h2>Posts</h2>

     <ul>

       {data.map(post => (

         <li key={post.id}>{post.title}</li>

       ))}

     </ul>

   </div>

 );

};


export default DataFetcher; -
Import and use the
DataFetchercomponent inApp.js:import React, { useState } from 'react';
import HelloWorld from './HelloWorld';
import Navbar from './Navbar';
import DataFetcher from './DataFetcher';
function App() {
const [message, setMessage] = useState('Hello, World!');
return (
<div className="App">
<Navbar />
<HelloWorld message={message} />
<DataFetcher />
</div>
);
}
export default App;
Deploying Your React Website
After building your React app, the next step is deployment.
-
Build Your App:
npm run buildThe
buildfolder will be created, containing the static files for deployment. - Deploying to GitHub Pages:
- Install the GitHub Pages package:
npm install --save gh-pages - Add the following to
package.json:"homepage": "http://{username}.github.io/{repo-name}" - Add
predeployanddeployscripts:"scripts": {
"predeploy": "npm run build",
"deploy": "gh-pages -d build"
} - Deploy the app:
npm run deploy
- Install the GitHub Pages package:
By following these steps, your website will be hosted on GitHub Pages.
Conclusion
In conclusion, this step-by-step guide aims to provide freelancers, marketing agencies, and beginners and experts in business with a clear pathway to building their first website using React. From setting up the development environment to deploying your app, each step is crafted to ensure that you gain practical and functional knowledge. Consequently, mastering React not only helps you create powerful web applications but also bolsters your professional portfolio, opening new avenues in the constantly evolving field of web development.
Related Articles:
- 10 React Libraries You Can’t Ignore
- How to Optimize Your React App for Better Performance
- Understanding React Hooks: A Beginner’s Guide
- Top 7 Mistakes React Developers Should Avoid
- Best Practices for Maintaining Large React Applications
By exploring these articles, you can deepen your understanding of React and related technologies, further enhancing your skills and opportunities in the field.
[ad_2]