
[ad_1]
In the ever-evolving digital world, having a website is vital for businesses, freelancers, marketing agencies, and many other professionals. If you’re looking to host your WordPress website on GoDaddy, you’re in the right place. This guide will provide a comprehensive, step-by-step tutorial to help you achieve your goal efficiently.
Introduction
First and foremost, why GoDaddy? GoDaddy is one of the world’s leading web hosting providers, offering a range of services that make it easy for anyone to get their website up and running. Its user-friendly interface, reliable uptime, and excellent customer support make it an ideal choice for beginners and experts alike.
Table of Contents
- Preparing for Hosting
- Setting Up a GoDaddy Account
- Choosing the Right Hosting Plan
- Installing WordPress
- Configuring Your WordPress Site
- Managing Your Website
- Advanced Tips and Tricks
- Conclusion
1. Preparing for Hosting
Before diving into the hosting process, it’s crucial to prepare. Let’s outline what you need:
-
Domain Name: This is your website’s address. You can either register a new domain with GoDaddy or use an existing one.
-
Content: Have your content (text, images, videos, etc.) ready for a smooth website-building process.
- Budget: Allocate a budget for hosting services and any additional features you may need.
Transition to the Next Step
With essentials in place, let’s move on to setting up your GoDaddy account.
2. Setting Up a GoDaddy Account
If you don’t already have a GoDaddy account, follow these steps:
- Visit GoDaddy’s Website: Open your web browser and go to GoDaddy’s homepage.
- Sign Up: Click on the "Sign In" button at the top right corner and then select "Create an Account."
- Provide Details: Fill in the required information, including your email, username, and password.
- Verify Account: Once you’ve completed the registration steps, confirm your account via the verification email sent to you.
Transition to Hosting Plan
Now that your account is ready, it’s time to choose an appropriate hosting plan.
3. Choosing the Right Hosting Plan
GoDaddy offers various hosting plans tailored to different needs. Here’s a rundown:
-
Shared Hosting: Ideal for small websites and bloggers. It’s cost-effective but shares resources with other websites.
-
WordPress Hosting: Specifically optimized for WordPress sites. This option includes pre-installed WordPress and automatic updates.
-
VPS Hosting: Provides more resources and control. Suitable for growing businesses and advanced users.
- Dedicated Hosting: Offers maximum resources and control but at a higher cost. Best for large enterprises and high-traffic websites.
Recommendations
For most beginners and freelancers, WordPress Hosting is the most straightforward and hassle-free option.
Transition to Purchase
After selecting your hosting plan, proceed to purchase it. Here’s how:
- Select Plan: Click on the "Get Started" button under your chosen plan.
- Add Domain: If you haven’t registered a domain yet, you can do so during the purchase process.
- Payment: Enter your billing information and complete the payment.
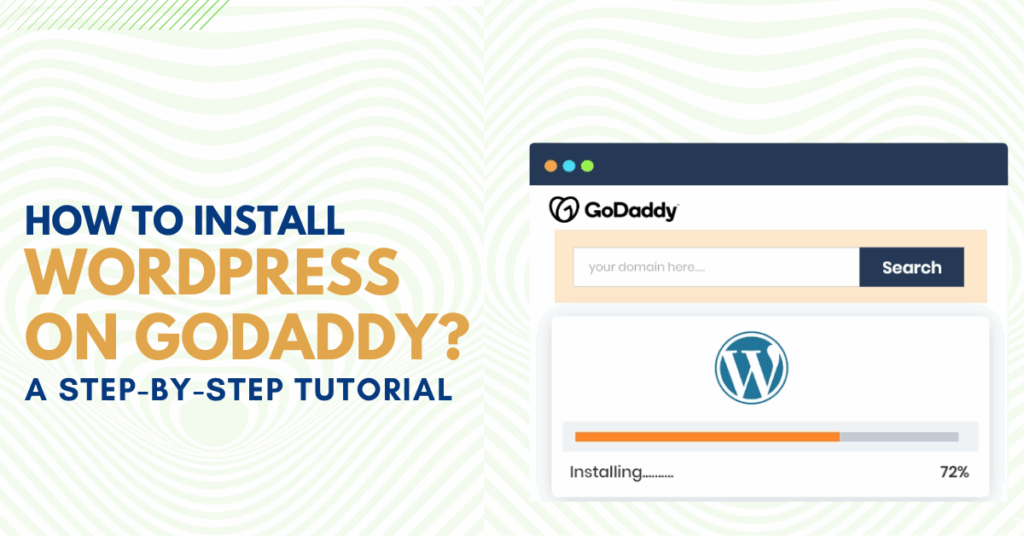
4. Installing WordPress
Once your hosting plan is active, you can install WordPress. GoDaddy simplifies this process through its user-friendly interface.
Method 1: Automated Installation
- Log In to Your Account: Go to the GoDaddy website and log in.
- Navigate to My Products: Click on your username and select “My Products.”
- Manage Hosting: Find your hosting plan and click "Manage".
- Install WordPress: Click on "Install Application", then select WordPress from the list of applications.
- Complete the Form: Fill in details like your website’s name, admin username, and password.
- Submit: Click "Install", and GoDaddy will handle the rest.
Method 2: Manual Installation
For those who prefer more control:
- Download WordPress: Go to WordPress.org and download the latest version.
- Upload to Server: Use an FTP client like FileZilla to upload the WordPress files to your hosting account.
- Create Database: Log in to your GoDaddy cPanel, navigate to the "Databases" section, and create a new MySQL database.
- Configure wp-config.php: Rename "wp-config-sample.php" to "wp-config.php" and update it with your database details.
- Run Installation Script: Open your browser and go to
http://yourdomain.com/wp-admin/install.php. Follow the prompts to complete the installation.
Transition to Site Configuration
Now that WordPress is installed, it’s time to configure your site.
5. Configuring Your WordPress Site
WordPress configuration involves several steps:
Basic Settings
- Log In to WordPress Admin Panel: Navigate to
http://yourdomain.com/wp-adminand log in. - General Settings: Go to Settings > General, and fill in your site title, tagline, and other basic information.
- Permalinks: Navigate to Settings > Permalinks, and choose an SEO-friendly URL structure (e.g., Post name).
Customize Appearance
- Choose a Theme: Go to Appearance > Themes. Browse the repository or upload a custom theme.
- Customize Theme: Use the Customizer (Appearance > Customize) to tweak the design, colors, and layout.
- Install Plugins: Go to Plugins > Add New. Essential plugins include Yoast SEO, WPForms, and Akismet.
Creating Content
- Add Pages: Navigate to Pages > Add New. Create essential pages like Home, About, Services, and Contact.
- Create Posts: Go to Posts > Add New to start blogging.
- Set Up Navigation: Go to Appearance > Menus to create and manage your website’s navigation menu.
Transition to Site Management
With your site configured, the next step is managing it efficiently.
6. Managing Your Website
Managing a WordPress website involves regular updates, security checks, and performance optimization. Here’s how:
Regular Updates
- Core Updates: Keep WordPress core updated to the latest version. Notifications will appear in your admin dashboard.
- Theme & Plugin Updates: Regularly update your themes and plugins to ensure compatibility and security.
Security Measures
- Backups: Install a backup plugin like UpdraftPlus and schedule regular backups.
- Security Plugins: Use security plugins like Wordfence or Sucuri to protect your site from threats.
- SSL Certificate: Ensure you have an SSL certificate installed for HTTPS support.
Performance Optimization
- Caching: Use caching plugins like W3 Total Cache or WP Super Cache to speed up your site.
- Image Optimization: Compress images using plugins like Smush or EWWW Image Optimizer.
- CDN: Utilize a Content Delivery Network (CDN) like Cloudflare to enhance your site’s load times globally.
Transition to Advanced Tips
With basic management in place, let’s explore some advanced tips to further enhance your website.
7. Advanced Tips and Tricks
To take your WordPress website to the next level, consider these advanced strategies:
SEO Optimization
- Keyword Research: Use tools like Google Keyword Planner or SEMrush to find relevant keywords.
- On-Page SEO: Optimize your content, meta descriptions, and tags using the Yoast SEO plugin.
- Backlinks: Build high-quality backlinks by guest blogging, engaging with influencers, and creating shareable content.
Email Marketing Integration
- Choose a Service: Consider services like Mailchimp, ConvertKit, or Constant Contact.
- Integrate with WordPress: Use plugins like Mailchimp for WordPress or OptinMonster.
- Create Email Campaigns: Develop newsletters and automated email sequences to engage your audience.
Analytics and Tracking
- Install Google Analytics: Use plugins like MonsterInsights to link your WordPress site with Google Analytics.
- Monitor Metrics: Track key metrics like page views, bounce rates, and user behavior.
- A/B Testing: Conduct A/B tests on headlines, call-to-action buttons, and layout to improve conversions.
E-Commerce Functionality
- WooCommerce: Install and configure WooCommerce for a seamless e-commerce experience.
- Payment Gateways: Integrate payment gateways like PayPal, Stripe, or Authorize.net.
- Product Management: Regularly update product listings, manage inventory, and handle customer queries.
Transition to Conclusion
By mastering these advanced techniques, you’re well on your way to making the most of your WordPress website on GoDaddy.
8. Conclusion
Hosting your WordPress website on GoDaddy involves a series of well-orchestrated steps. From setting up your GoDaddy account and choosing the right hosting plan to installing WordPress and optimizing your site, this guide provides a comprehensive roadmap. Remember, a well-managed website not only enhances user experience but also boosts your online presence.
Whether you’re a freelancer, a burgeoning marketing agency, or an established business, this step-by-step guide aims to help you achieve your business objectives in the most efficient way possible. Now, it’s time to embark on your digital journey and make your website a success!
Call to Action
If you found this guide helpful, don’t forget to share it with your network! And if you have questions or need further assistance, feel free to leave a comment below.
Happy website building!
[ad_2]