
[ad_1]
Title: Building Your First Website from Scratch Using Notepad: A Step-by-Step Guide
In an era where digital presence is pivotal, creating a personal or business website has never been more important. Yet, many are daunted by the complexities involved, especially without prior technical experience. Don’t worry! This comprehensive guide will walk you through the simplistic yet fascinating process of building your first website using Notepad—yes, the same Notepad that comes standard with Windows. Whether you’re a freelancer, a marketing agency, or someone keen to explore web development, this straightforward method will lay a solid foundation for your web journey.
Table of Contents
- Why Learn to Create a Website Using Notepad?
- Prerequisites
- Step 1: Setting Up Your Workspace
- Step 2: Understanding Basic HTML Structure
- Step 3: Adding Content to Your Website
- Step 4: Styling Your Website with CSS
- Step 5: Adding Interactivity with JavaScript
- Step 6: Testing and Debugging
- Step 7: Publishing Your Website
- Tips for Improvement and Learning
Why Learn to Create a Website Using Notepad?
To begin with, understanding the fundamentals of web development by manually coding in Notepad provides a clear picture of what happens behind the scenes. This approach demystifies the web design process, making sophisticated tools easier to understand once you transition. Additionally, it offers an appreciation of the core languages—HTML, CSS, and JavaScript—making you a more versatile developer.
Moreover, for marketing agencies, a deeper understanding of website structures can enhance SEO strategies and content placement, boosting your client’s digital footprint.
Prerequisites
Before diving in, let’s ensure you have the following set up:
- A Computer with Windows OS: Notepad is a default text editor in Windows.
- Basic Understanding of HTML and CSS: Familiarity with these languages will be helpful but isn’t mandatory.
- Internet Connection: For research and downloading necessary files.
Let’s dive right into creating your first website.
Step 1: Setting Up Your Workspace
Opening Notepad
Transition words like “initially,” “firstly,” and “to start” set the stage for the setup:
- Initially: Click on the Start menu at the bottom-left corner of your screen.
- Secondly: Type "Notepad" into the search bar and press Enter.
- To start: Notepad should now open.
Creating the Project Folder
To manage your website files more effectively:
- First: Go to your desktop and create a new folder named "MyFirstWebsite".
- Subsequently: Within this folder, create another folder called "images" where you can store all your website’s images.
Step 2: Understanding Basic HTML Structure
HTML, or HyperText Markup Language, serves as the backbone of your website. It defines the structure and layout.
Basic HTML Skeleton
Start with the basic HTML5 structure:
<!DOCTYPE html>
<html lang="en">
<head>
<meta charset="UTF-8">
<meta name="viewport" content="width=device-width, initial-scale=1.0">
<title>My First Website</title>
<link rel="stylesheet" href="styles.css">
</head>
<body>
<header>
<h1>Welcome to My First Website</h1>
<nav>
<ul>
<li><a href="#">Home</a></li>
<li><a href="#">About</a></li>
<li><a href="#">Contact</a></li>
</ul>
</nav>
</header>
<main>
<section>
<h2>About This Site</h2>
<p>This is a simple website created using Notepad.</p>
</section>
</main>
<footer>
<p>© 2023 My First Website</p>
</footer>
<script src="script.js"></script>
</body>
</html>Saving the File
- To begin with: In Notepad, click on ‘File’ -> ‘Save As’.
- Next: Navigate to the "MyFirstWebsite" folder.
- Then: Change the ‘Save as type’ to ‘All Files’.
- Lastly: Name your file
index.htmland click ‘Save’.
Step 3: Adding Content to Your Website
Content is king. Now, let’s flesh out the text and images that will populate your website:
Adding Textual Content
Enhance your site’s sections further:
<section>

    <h2>About This Site</h2>

    <p>This is a simple website created using Notepad. You will find information about various topics here.</p>

</section>

<section>

    <h2>Services</h2>

    <p>We offer web development, SEO optimization, and more.</p>

</section>

<section>

    <h2>Contact Us</h2>

    <p>Email: example@example.com</p>

</section>
Including Images
In the same index.html file, under the about section, add an image:
<section>

    <h2>About This Site</h2>

    <p>This is a simple website created using Notepad.</p>

    <img src="images/sample.jpg" alt="Sample Image">

</section>
Ensure you have placed an image named sample.jpg in the "images" folder.
Step 4: Styling Your Website with CSS
Next, let’s add some styles to make your website look good.
Creating a CSS File
- Firstly: Open a new Notepad window.
- Secondly: Write the following CSS code:
body {

    font-family: Arial, sans-serif;

    margin: 0;

    padding: 0;

    background-color: #f4f4f4;

}


header {

    background: #333;

    color: #fff;

    padding: 20px 0;

    text-align: center;

}


nav ul {

    list-style: none;

    padding: 0;

}


nav ul li {

    display: inline;

    margin: 0 10px;

}


nav ul li a {

    color: #fff;

    text-decoration: none;

}


main {

    padding: 20px;

}


footer {

    background: #333;

    color: #fff;

    text-align: center;

    padding: 10px 0;

    position: fixed;

    width: 100%;

    bottom: 0;

}- Then: Save this file in the "MyFirstWebsite" folder as
styles.css.
Step 5: Adding Interactivity with JavaScript
JavaScript will make your website interactive.
Creating a JavaScript File
- Start: Open a new Notepad window.
- Then: Write the following JS code to display an alert when the page loads:
window.onload = function() {

    alert("Welcome to My First Website!");

}- Finally: Save this file in the "MyFirstWebsite" folder as
script.js.
Linking JavaScript to HTML
Make sure that your index.html includes:
<script src="script.js"></script>before the closing </body> tag.
Step 6: Testing and Debugging
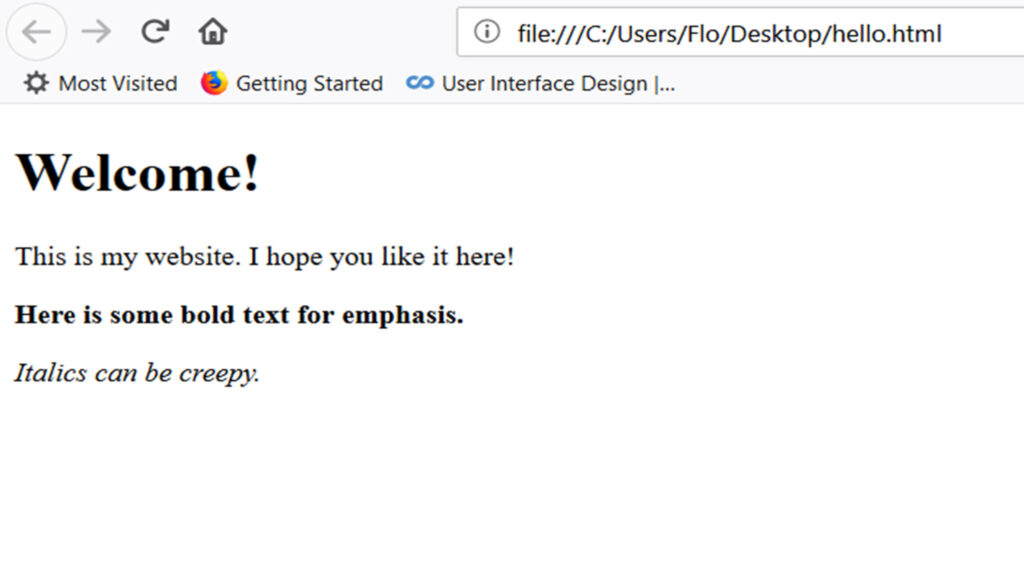
Use your web browser to test your webpage. Open the index.html file using any modern web browser (Chrome, Firefox, Edge).
Checking for Errors
- Firstly: Verify that the alert message appears.
- Secondly: Check if all images load correctly.
- Lastly: Ensure the navigation links work and the CSS styles are applied.
If something is broken, return to Notepad, make the necessary corrections, save, and refresh your browser.
Step 7: Publishing Your Website
After ensuring everything is functional, it’s time to publish your website so the world can see it.
Choosing a Hosting Provider
Numerous hosting providers offer services for free or paid:
- GitHub Pages: Ideal for simple, static websites.
- Netlify: Known for its ease of deployment.
- Professional Hosting: Bluehost, HostGator for more robust web applications.
Uploading Files
- Initially: Sign up for a hosting service.
- Then: Follow their guidelines on uploading files. Generally, you’ll upload the
index.html,styles.css,script.js, and theimagesfolder.
Tips for Improvement and Learning
Creating your first website using Notepad is an accomplishment, but it’s just the beginning. Here are some tips to keep improving:
Learning Resources
- Websites: W3Schools, MDN (Mozilla Developer Network)
- Books: “HTML & CSS: Design and Build Websites” by Jon Duckett.
- Courses: Coursera, Khan Academy, FreeCodeCamp.
Experimentation
Don’t stop at this guide. Experiment with more HTML elements, CSS properties, and JavaScript functions to broaden your skills.
Joining Communities
Participate in forums such as Stack Overflow, Reddit’s webdev community, and others for support and ongoing learning.
Keeping Updated
Web development technologies evolve rapidly. Following dedicated blogs, tech news, and attending webinars or local meetups can keep you on the cutting edge.
By following this guide, you’ve not only built your first website but also gained an understanding of the foundational concepts of web development. Keep pushing your boundaries, and soon, you’ll progress from easy projects to more complex applications. The internet is yours to shape; start transforming it today!
[ad_2]